Draw Mask
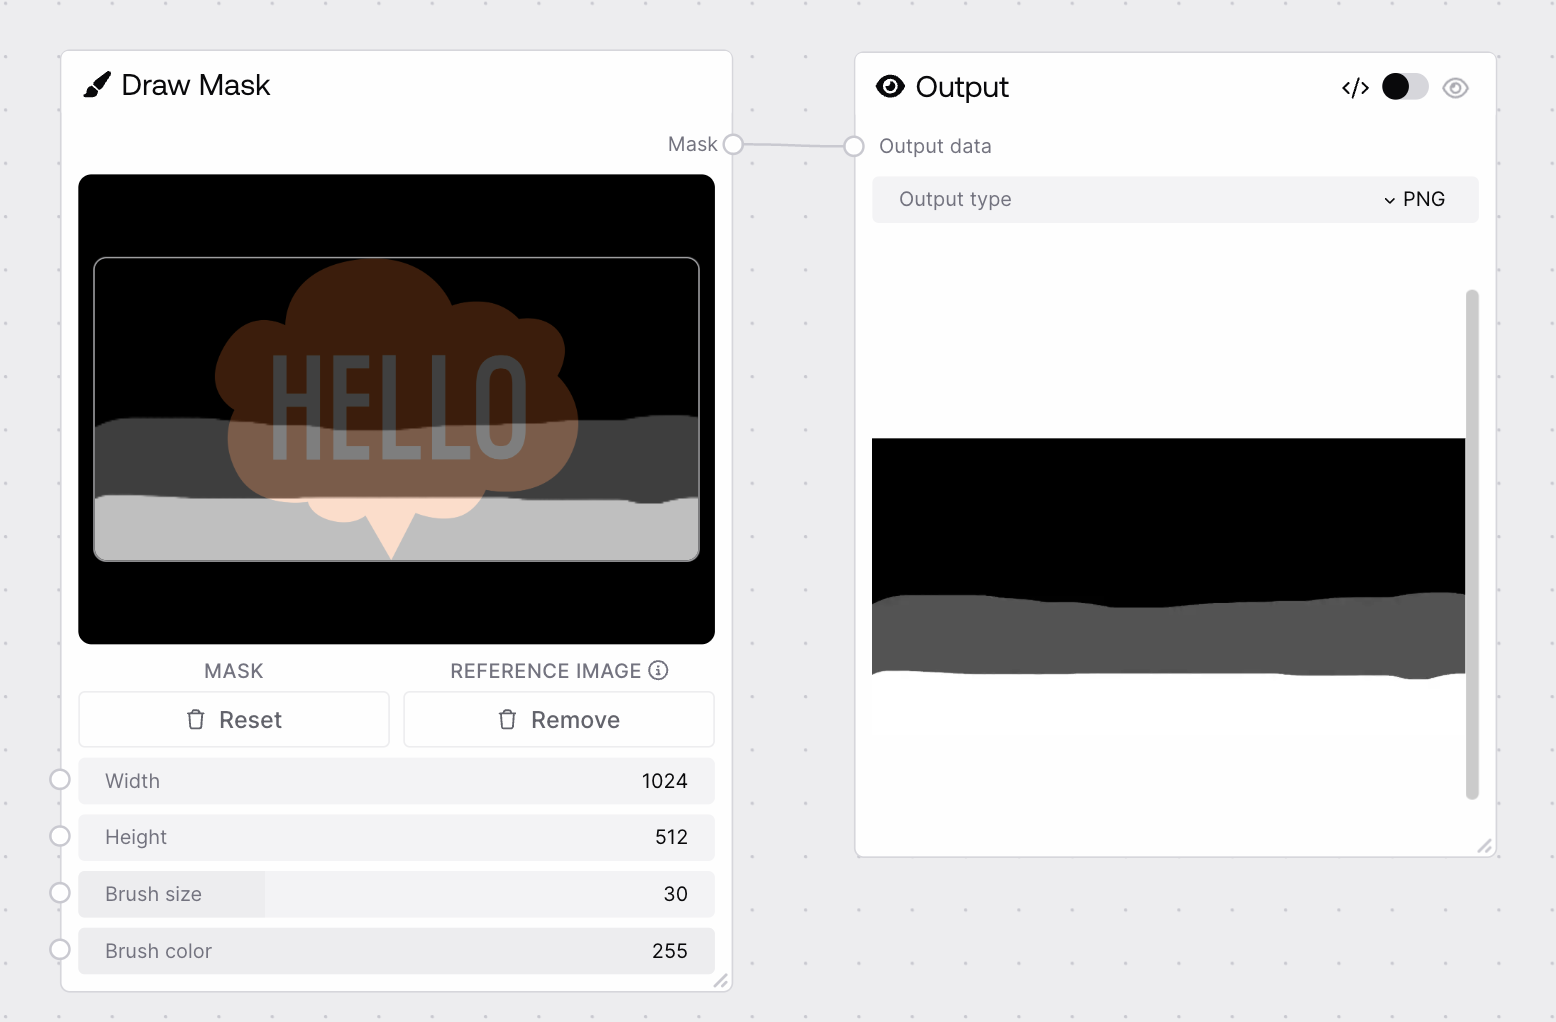
Creates a custom mask by drawing on a canvas with adjustable size, brush, and grayscale color. Outputs a mask tensor for downstream processing.
Quick Start
- Set canvas width and height.
- Adjust brush size and color as needed.
- Draw on the canvas to create your mask.
- Use the output mask in your workflow.
Setup Guide
1. Configure Canvas
- Choose desired width and height for the mask.
- Set brush size and color for drawing.
2. Draw and Export
- Draw on the canvas using the configured brush.
- Export the mask for use in other nodes.
Basic Usage
Creating a Custom Mask
- Draw directly on the canvas to define mask regions.
- Adjust brush size for fine or broad strokes.
- Use grayscale brush color for mask intensity.
Configuration
Required Inputs
| Field | Description | Type | Example |
|---|---|---|---|
| canvas | The base64-encoded canvas image to draw the mask on. | CANVAS | (UI-provided) |
| width | Width of the mask in pixels. | INT | 512 |
| height | Height of the mask in pixels. | INT | 512 |
| brush_size | Size of the drawing brush in pixels. | INT | 10 |
| brush_color | Grayscale color value for the brush (0=black, 255=white). | INT | 255 |
Optional Inputs
None
Outputs
| Field | Description | Example |
|---|---|---|
| mask | The generated mask tensor. | (Tensor) |
Best Practices
Drawing Masks
- Use a larger brush for broad areas, smaller for details.
- Set brush color to 255 for full mask, lower for partial transparency.
Workflow Integration
- Combine with other masking nodes for complex effects.
- Resize canvas to match target image dimensions for best results.
Troubleshooting
Common Issues
- Mask appears empty: Ensure you have drawn on the canvas and brush color is not set to 0.
- Output size mismatch: Set width and height to match your target image.
Need Help?
- Refer to the platform documentation for node usage examples.
- Visit the support forum for troubleshooting tips and community help.